Updates
Know when a release is out
Section titled “Know when a release is out”The update check is off by default, like every connection to the Internet. Turn it on in Settings › Platform › General › Connections › Check for updates. It only reads the published release tags: nothing about the instance is sent.
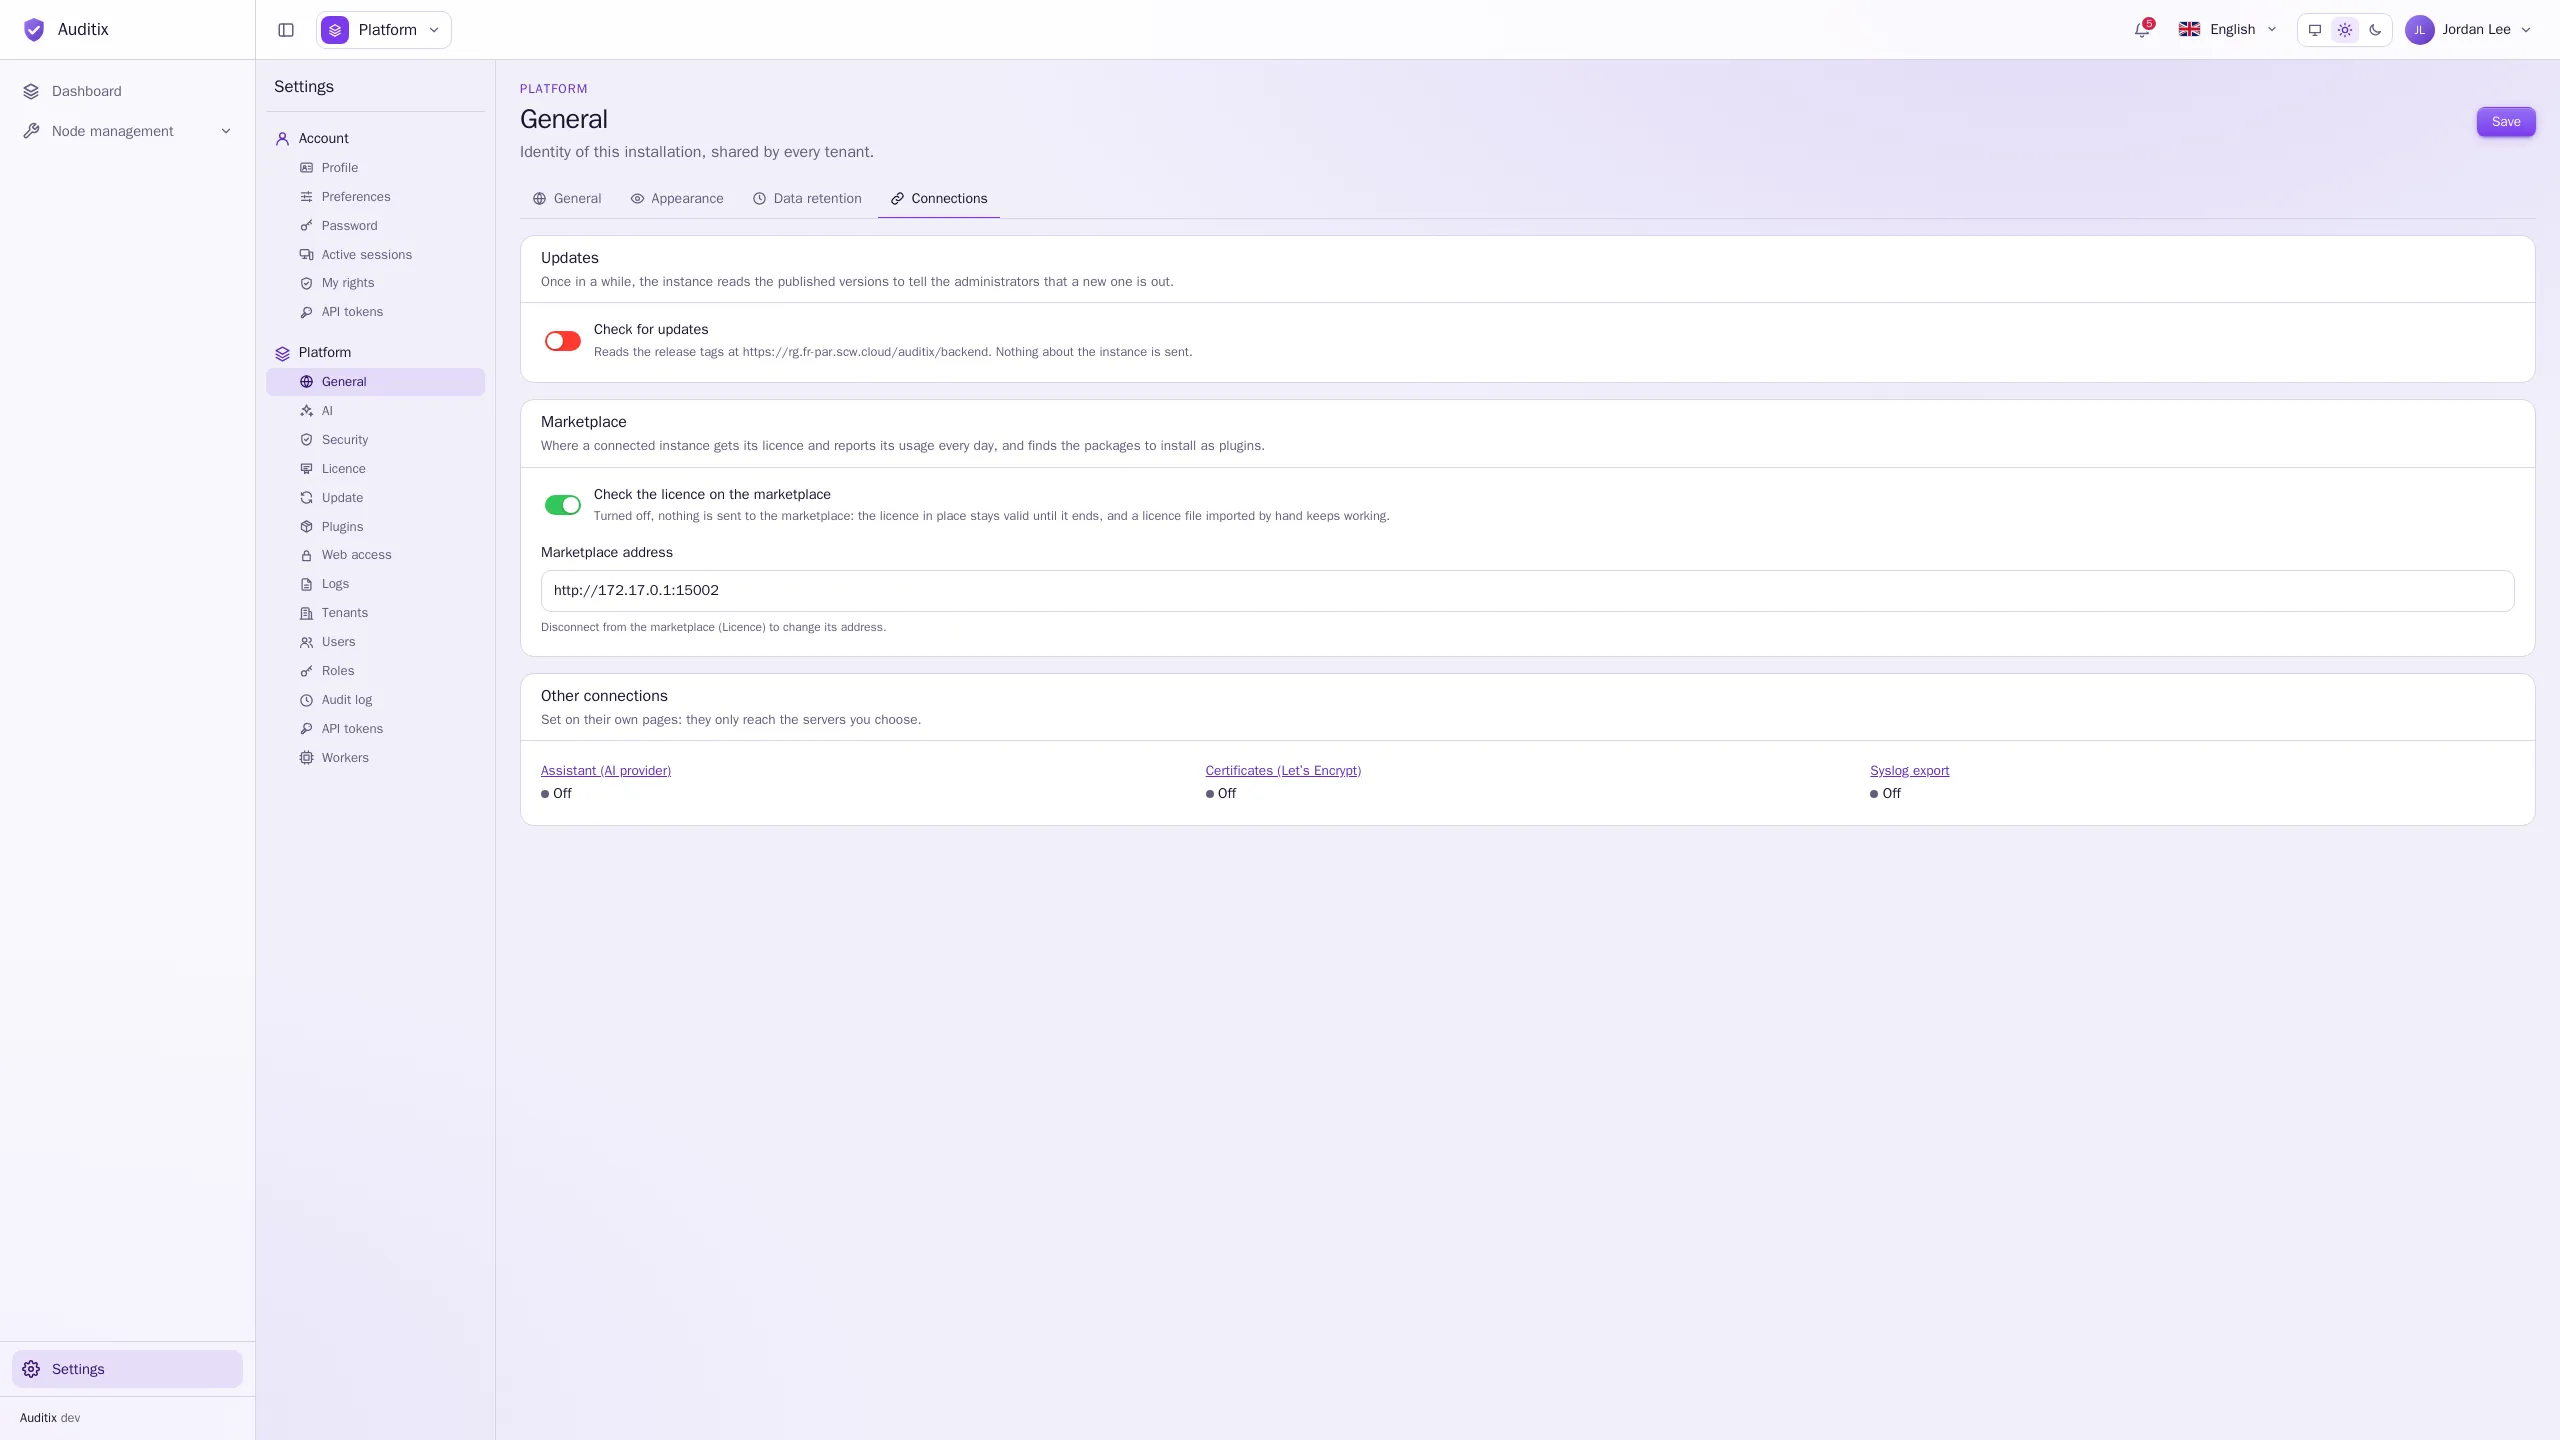
Once it is on:
- the footer of the sidebar shows Update available: … when a newer release is out;
- Settings › Platform › Update lists the newer releases with What it brings;
- the check runs every six hours by itself; Check for updates on the Update page runs it at once and notifies you of the result.
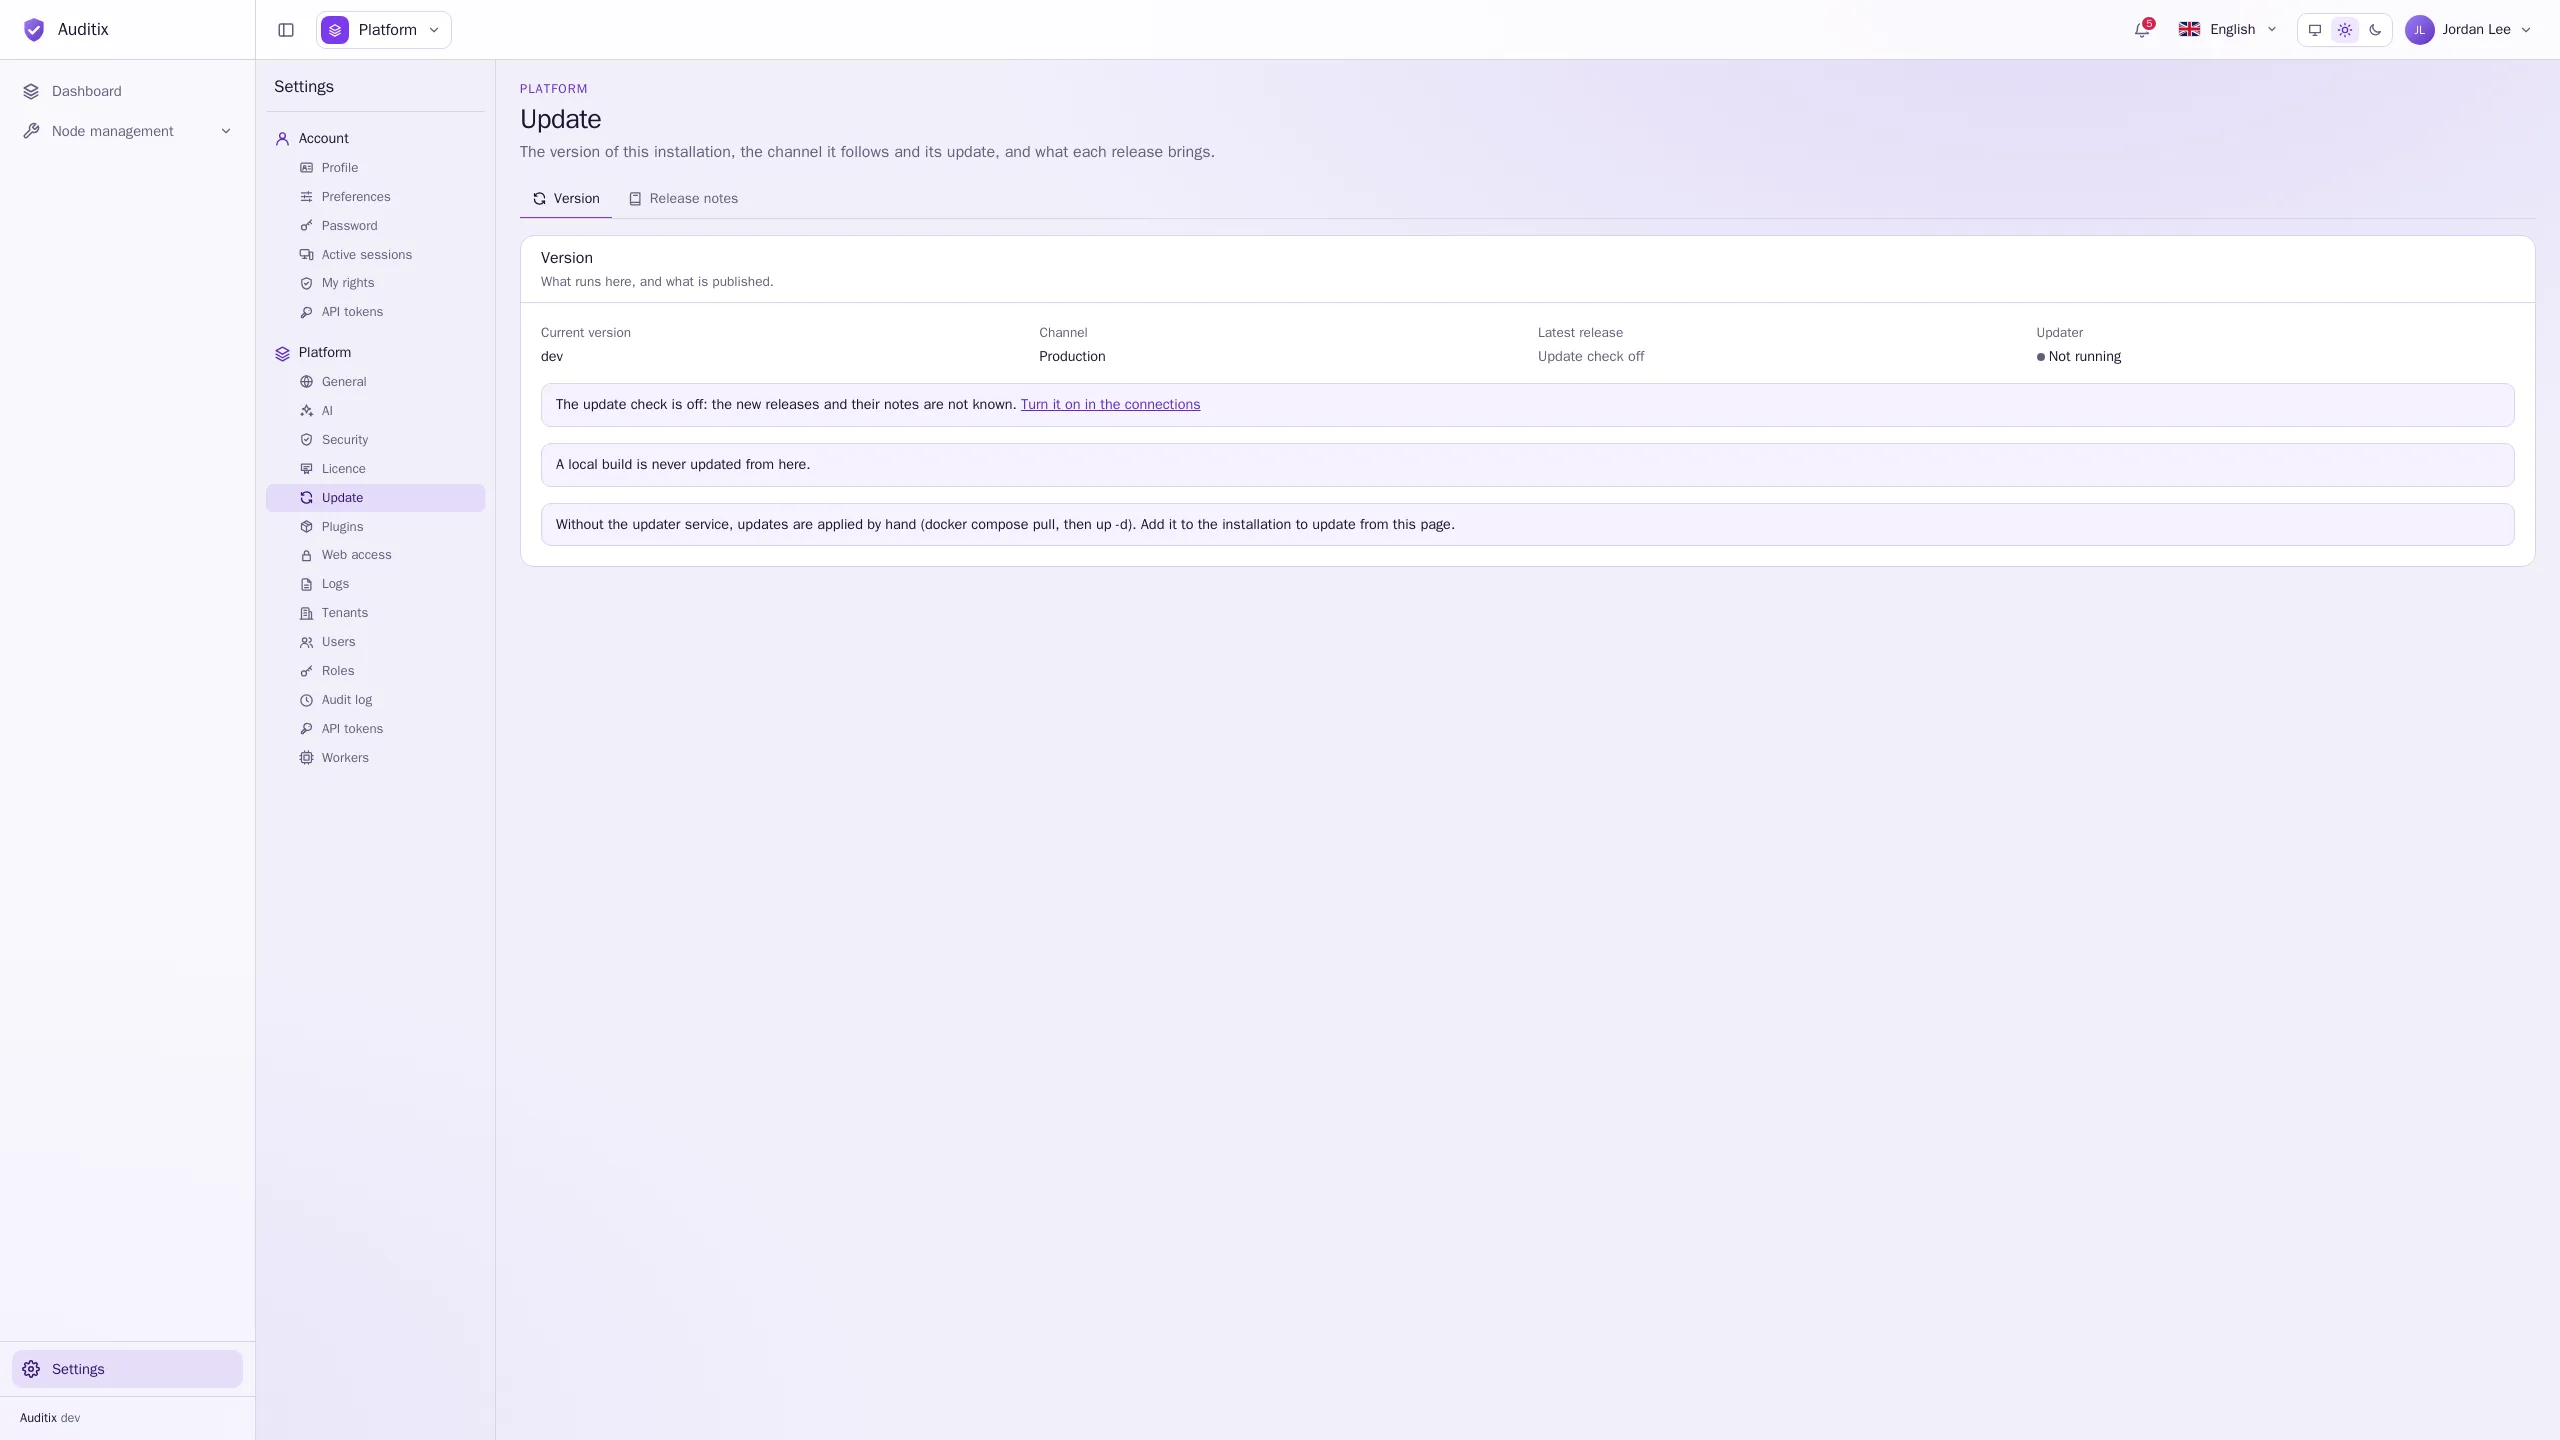
The Version tab shows the Current version, the Channel, the Latest release and the state of the Updater. The Release notes tab lists every published release, the most recent first, with what each one brings and what to do by hand, if anything.
Update from the settings
Section titled “Update from the settings”This needs the updater service of the production stack
(the page shows Updater: Running) and the update check turned on.
-
Open Settings › Platform › Update. Under Available updates, read what the release brings.
-
Click Update to … and confirm with Update.
-
The page follows the steps: Backup (the database is saved in the backups folder of the installation), Download, Restart, Check. Auditix is unavailable for a minute or two while its services restart, then the page reloads by itself.
If the new version does not start, the previous one comes back by itself. A release may also need a
change to compose.yaml: its release notes say so, and it is applied by hand (see
Upgrade notes).
How the updater restarts the services depends on AUDITIX_VERSION in .env:
latest(any installation, Portainer included): the release chosen becomeslateston the host and the updater recreates the Auditix containers on it. The stack keeps sayinglatest: nothing to change in Portainer.- A fixed release (
vX.Y.Z), with the installation folder mounted on/install: the updater sets the new version in.env, then pulls and restarts the services.
Development builds
Section titled “Development builds”When the licence includes Development versions, the Channel of the Update page offers Production (the releases, by default) and Development (the latest development build, ahead of the releases). Development builds may hold unfinished work, and their database changes may come before the next release: going back to Production waits for a release newer than the build in place. Keep them for test instances.
Update by hand
Section titled “Update by hand”Without the updater service, or if you prefer:
Set the new release in .env, then pull and restart:
AUDITIX_VERSION=v0.13.0docker compose pulldocker compose up -ddocker image prune -fKeep AUDITIX_VERSION=latest and pull again:
docker compose pulldocker compose up -ddocker image prune -fThe backend applies the database changes itself at startup, from any earlier release. Back up the database first (see Back up).
To roll back, set the previous version and run the same commands. Database changes only move forward: when rolling back across a database change, restore the backup taken before the update.
Upgrade notes
Section titled “Upgrade notes”Changes to apply to compose.yaml by hand, depending on the version you installed from:
-
Installed before 0.11.1: add
cookie_name auditix_liveto theMERCURE_EXTRA_DIRECTIVESof themercureservice. Without it, the browsers reach real-time updates through a slower relay, and log a refused/.well-known/mercurerequest.mercure:environment:MERCURE_EXTRA_DIRECTIVES: |resource_identifier http://mercure/.well-known/mercurecookie_name auditix_livetransport bolt {path /data/mercure.dbsize 1000cleanup_frequency 0.3}heartbeat 15s -
0.6 or earlier: remove the
workerservice, add theorchestratorservice, and remove the container theworkerservice left (docker rm -f <project>-worker-1; with Portainer: Containers). -
0.2 or earlier: add the
x-loggingblock and theloggingof each service; thegateway,rabbitmq,mercure,developerandlogsservices and their volumes;MESSENGER_TRANSPORT_DSN,GATEWAY_SECRET,RABBITMQ_PASSWORDandMERCURE_JWT_SECRET(openssl rand -hex 32), as in the current compose file. The gateway now publishes the ports: remove those of the frontend, and point your reverse proxy, if any, to the HTTP port of the gateway.